 Save
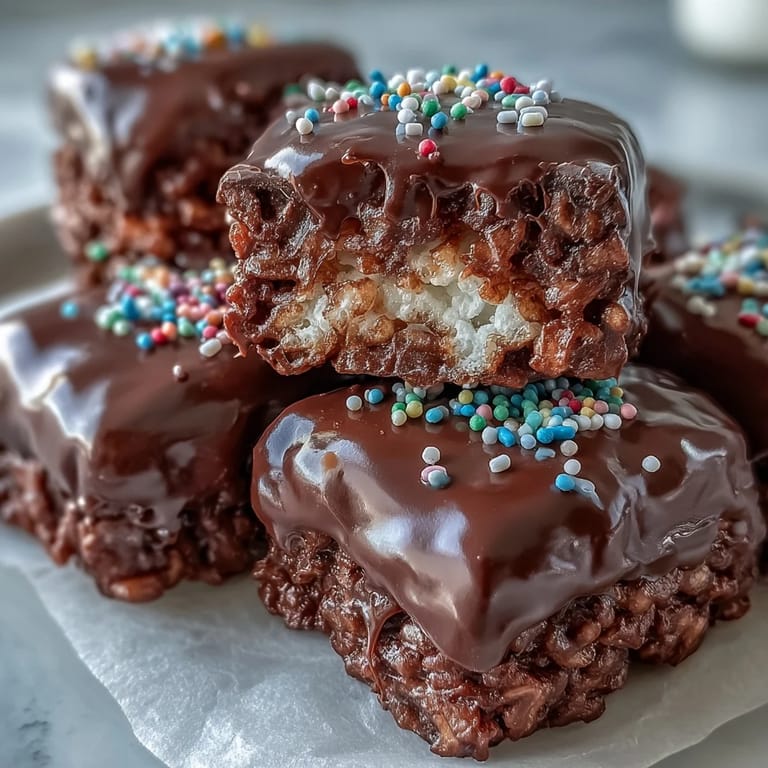
Save My nephew's birthday party was spiraling into chaos when I pulled these from the fridge, their glossy chocolate tops still cold and firm. The kids stopped mid-scream, eyes wide, and suddenly I was the hero aunt. I'd been skeptical about covering Rice Krispies in chocolate—wasn't the classic version perfect already?—but one bite changed my mind completely. The chocolate seals in the marshmallow softness while adding a richness that makes these feel grown-up enough for any dessert table.
I made a double batch for my coworker's going-away party and watched grown adults negotiate trades like kids at lunch. Someone asked if I'd tempered the chocolate, and I laughed because I'd just melted chips in the microwave with a splash of oil. The simplicity is the magic here—no candy thermometer, no double boiler, just patience while the chocolate sets. That night, my inbox filled with requests for the recipe, and I realized I'd accidentally created an office legend.
Ingredients
- Unsalted butter: Use unsalted so you control the saltiness, and always add a little extra for greasing your hands when pressing the mixture down.
- Mini marshmallows: The minis melt faster and more evenly than large ones, creating that signature gooey bind without hot spots.
- Rice Krispies cereal: The original brand works best because generic versions can be too dense or lack that airy snap.
- Fine sea salt: This is optional but it cuts through the sweetness and makes the chocolate taste richer and more complex.
- Semisweet or dark chocolate chips: I prefer semisweet for balance, but dark chocolate lovers should go for 60% cacao for a bittersweet edge.
- Vegetable oil or coconut oil: Just one teaspoon thins the chocolate enough to spread smoothly without making it greasy.
- Rainbow sprinkles or chopped nuts: Sprinkles add joy and color, while toasted nuts bring a sophisticated crunch.
Tired of Takeout? 🥡
Get 10 meals you can make faster than delivery arrives. Seriously.
One email. No spam. Unsubscribe anytime.
Instructions
- Prep your pan:
- Grease that pan generously, even the corners, or line it with parchment paper if you want to lift the whole block out later for cleaner cuts. Cold butter works better for greasing than cooking spray, which can leave a weird flavor.
- Melt the butter low and slow:
- Keep the heat gentle so the butter doesn't brown or separate, stirring constantly with a wooden spoon. The moment it's fully liquid, you're ready for marshmallows.
- Stir in the marshmallows:
- Add them all at once and keep stirring until they collapse into a smooth, glossy pool. If you see any lumps, keep going—they'll melt.
- Season the base:
- Pull the pan off the heat and stir in that pinch of salt if you're using it. This is also the moment to add vanilla extract if you want extra warmth.
- Fold in the cereal:
- Work quickly but gently, folding with a spatula until every piece is coated in marshmallow. Don't crush the cereal or you'll lose the crunch.
- Press into the pan:
- Scrape the mixture into your prepared pan and press it down firmly with buttered hands or a buttered spatula. Even pressure means even bars.
- Let it rest:
- Give it ten minutes at room temperature to firm up just enough that the chocolate won't sink in. Don't skip this or you'll have a messy layer.
- Melt the chocolate:
- Combine chocolate chips and oil in a microwave-safe bowl, then heat in thirty-second bursts, stirring between each one until silky. Patience here prevents scorching.
- Pour and spread:
- Pour the melted chocolate over the cooled base and use an offset spatula to spread it edge to edge. Work quickly before it starts to set.
- Add the sprinkles:
- Scatter them on immediately while the chocolate is still wet so they stick. If you wait, they'll just roll off.
- Let it set completely:
- Leave the pan on the counter for an hour, or speed things up in the fridge for twenty to thirty minutes. The chocolate should be firm to the touch.
- Cut into bars:
- Use a sharp knife, wiping it clean between cuts for neat edges. Warm the blade under hot water if the chocolate cracks.
 Save
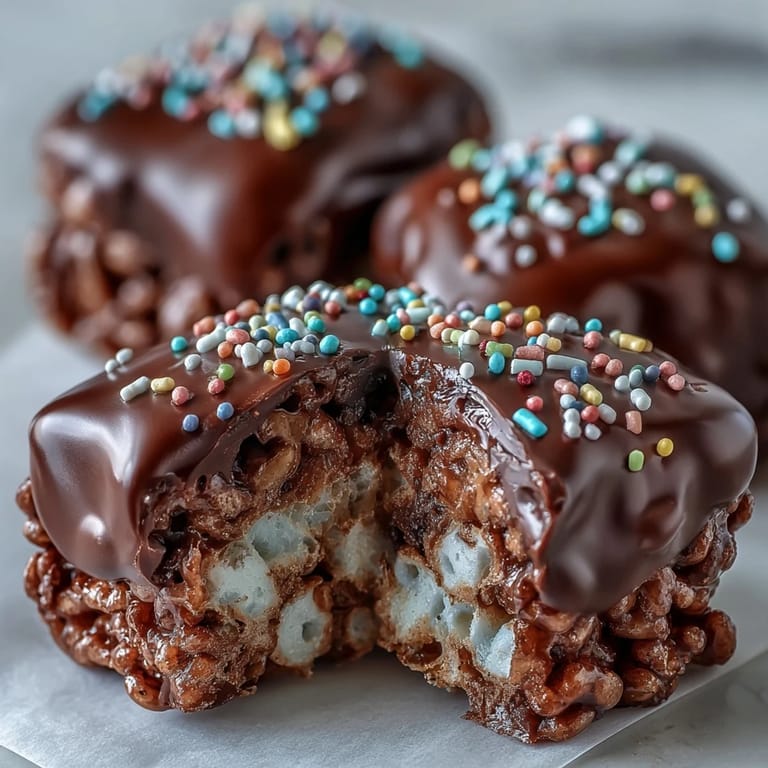
Save These became my sister's go-to for bake sales after she realized they looked bakery-bought but cost almost nothing to make. She started experimenting with white chocolate and pastel sprinkles for Easter, drizzling dark chocolate over milk chocolate for drama, even pressing crushed peppermint into the top for winter events. What started as a simple party trick turned into her signature contribution, the thing people asked her to bring by name. Now every time I make a batch, I think of her standing in her kitchen, phone wedged between her shoulder and ear, laughing about how something this easy could get so much applause.
How to Store and Keep Them Fresh
Stack them in an airtight container with parchment paper between layers so the chocolate doesn't stick or smudge. At room temperature, they stay perfect for three days, but in the fridge they last a full week and the chocolate gets that satisfying snap when you bite through. I've never tried freezing them because they disappear too fast, but I imagine they'd hold up well wrapped tightly in plastic and foil. Just let them come to room temperature before serving or the chocolate will be too hard and the marshmallow will firm up.
Variations Worth Trying
Swap semisweet chocolate for white chocolate and add a handful of freeze-dried strawberries on top for a fruity twist that looks stunning on a spring table. You can also stir a tablespoon of peanut butter into the melted marshmallows for a Reese's vibe, or use dark chocolate and sea salt flakes instead of sprinkles for a more refined finish. One friend added a layer of caramel between the cereal and chocolate, and I won't lie, it was dangerously good. The base recipe is so forgiving that you can experiment without much risk.
Serving Suggestions
These shine on dessert platters next to cookies and brownies, but they also work beautifully wrapped individually in cellophane and tied with ribbon for party favors or gifts. I've served them with coffee after dinner, packed them in lunchboxes, and brought them to potlucks where they vanished before the main course. They're sweet enough to satisfy but not so heavy that you feel guilty grabbing a second one.
- Cut them into smaller squares for bite-sized treats that stretch further at big gatherings.
- Serve them cold from the fridge if you want that firm chocolate snap, or at room temperature for a softer, chewier texture.
- Pair them with vanilla ice cream for an over-the-top sundae that kids and adults both love.
 Save
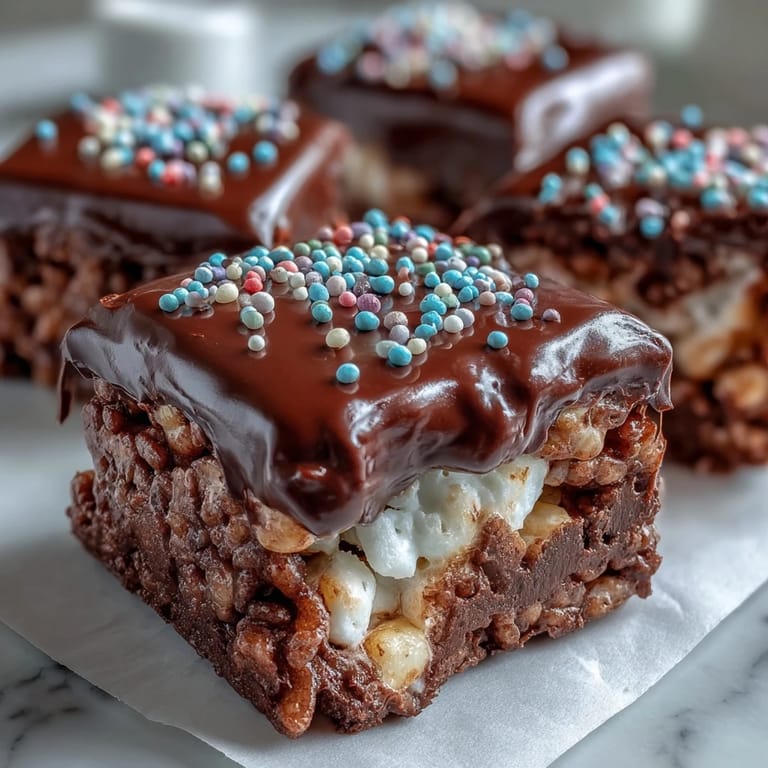
Save There's something deeply satisfying about taking a childhood classic and dressing it up just enough to make it feel special without losing what made it lovable in the first place. These bars prove that sometimes the best recipes are the ones that make people smile before they even take a bite.
Recipe FAQs
- → How do I keep the marshmallow mixture from sticking to my hands?
Butter your hands or spatula lightly before pressing the mixture into the pan. You can also grease the pan with butter to prevent sticking. Working while the mixture is still warm makes it easier to spread evenly.
- → Can I use white chocolate instead of semisweet?
Absolutely! White chocolate works beautifully and creates a lovely contrast with the colorful sprinkles. You can also use milk chocolate for a sweeter coating or dark chocolate for a more intense flavor profile.
- → Why does my chocolate seize when melting?
Chocolate seizes when even a small amount of water gets into it. Always use dry utensils and bowls, and avoid covering the chocolate while microwaving as condensation can form. Adding the teaspoon of oil helps create a smooth, glossy finish.
- → How should I store these bars?
Store in an airtight container at room temperature for up to 3 days. For longer storage, keep them in the refrigerator for up to a week. If stacking, place parchment paper between layers to prevent the chocolate from sticking.
- → Can I freeze these chocolate covered treats?
Yes! Wrap individual bars in plastic wrap and place in a freezer-safe container for up to 2 months. Thaw at room temperature for about 30 minutes before serving. The chocolate may develop a slight bloom but will still taste delicious.
- → What's the best way to cut clean squares?
Let the chocolate set completely at room temperature or in the refrigerator before cutting. Use a sharp knife and wipe it clean between cuts. For perfect squares, you can score the chocolate lightly before it fully sets.